Summary: This article will show you how to transfer Zenmuse X5/X5R 4K video to Premiere Elements 12/13 to create remarking editing work.
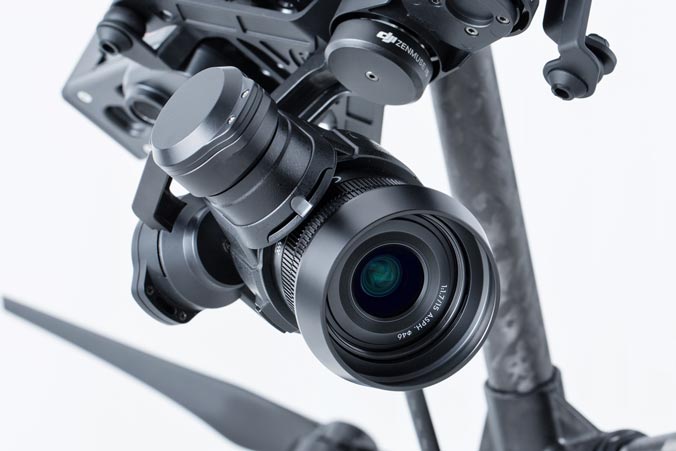
DJI has announced X5 and X5R Micro-four-thirds 4K cameras for Inspire 1 Drone. Both the X5 and X5R support 4K video at 24 and 30 frames per second, but the X5R has the ability to shoot raw 4K footage to its included 512GB SSD as it simultaneously records compressed 4K video to a micro-SD card for a fast editing workflow. Each camera comes attached to DJI's Zenmuse gimbal.
Adobe Premiere Elements is a scaled-down version of the Adobe Premiere Pro and is tailed to novice editors and consumers. Zenmuse X5 and X5R record MP4 and MOV format files compressed with H.264/MPEG-4 AVC codec, which is not a native editing format for Adobe Premiere 12/13. Therefore, people often encounter audio missing or file not importing problems when moving H.264 files to Premiere Elements for editing. Any ways to fix this issue?
The most ideal solution is convert Zenmuse X5/X5R 4K Video to Adobe Premiere optimized MPEG-2 format and you can perform the conversion will a simple to use application calledPavtube Video Converter for Windows/Mac to directly encode Zenmuse X5/X5R 4K video to Premiere Elements 12/13 customized MPEG-2/WMV(VC-1)/MOV(AVC) format. What's more, the program also allows you to transcode Zenmuse X5/X5R 4K video to other professional video editing codec such as DNxHD for Avid Media Composer, Apple Prores for FCP 6/7/X, etc.


Other Download:
- Pavtube old official address: http://www.pavtube.com/video-converter-mac/
- Amazon Store Download: http://www.amazon.com/Pavtube-Video-Converter-Mac-Download/dp/B00QIBK0TQ
- Cnet Download: http://download.cnet.com/Pavtube-Video-Converter/3000-2194_4-76179460.html
How to transcode and import Zenmuse X5/X5R 4K Video to Premiere Elements 12/13?
Step 1: Add Zenmuse X5/X5R 4K video files.
Click the "Add Video" button or "Add from folder" button to import source Zenmuse X5/X5R 4K video files to the program. You can add multiple video clips at one time.

Step 2: Choose output file format.
Click the "Format" bar and select "Adobe Premiere/Sony V..." > "MPEG-2(*.mpg)" as output format.

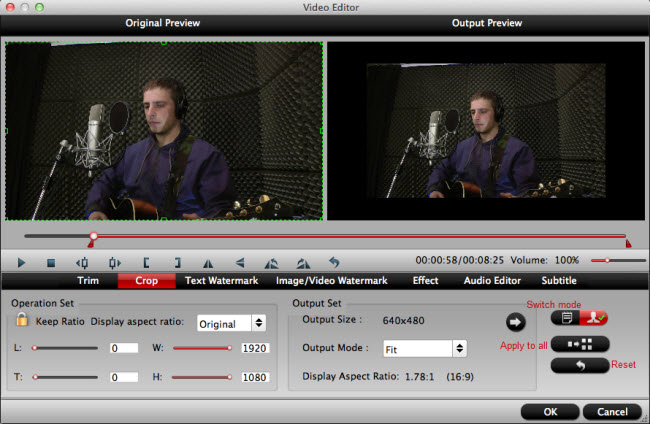
Step 3. Edit Zenmuse X5/X5R 4K video.
Open "Video Editor" window, here you can trim video length, crop video file size, apply special effect, add image or transparent text watermark, add subtitles, replace or remove original audio, etc.
Step 4. Transcode Zenmuse X5/X5R 4K to Premiere Elements.
Click the "Convert" icon under the preview window, it will start to convert Zenmuse X5/X5R 4K video to Premiere Elements 12/13 supported MPEG-2 format.
After the conversion, launch Premiere Elements 12/13, locate and find the folder where you save the converted video clips. Then start Zenmuse X5/X5R 4K video to Premiere Elements 12/13 professional post workflow with no difficulty.
Further Reading:
- Edit DJI Phantom 3 Professional 4K Video with Final Cut Pro X OS X El Capitan
- Is It Possible to Edit DJI Inspire 1 4K Video in FCP X?
- Downscale DJI Inspire 1 4K Video to 1080p for Smooth Playing and Editing
- Work DJI Inspire 1 4K Videos with Adobe Premiere Pro
- 4K to iMovie: Import DJI Inspire 1 4K Footage to iMovie for Editing
- Transcode DJI Phantom 2 Vision+ Video to Avid Media Composer
- Get Phantom 3 4K MP4/MOV Files Work Well with After Effects
- DJI Phantom 3 Video Converter -- Transfer 4K Video to YouTube
No comments:
Post a Comment